How to Turn on Purchase Invoice Integration (Xero)
Learn how to enable Purchase Invoice Integration in your Xero financials, to streamline the purchasing process.
Table of Contents
Step 1 - Enable Purchase Ledger integration
Go to Settings -> Organization Settings -> Financial Ledger Settings. Double click on the Financial Ledger and select the Accounts Integration Tab. Turn ‘Purchase Ledger Integration enabled’ to Yes.

Step 2 - Update Xero API Client
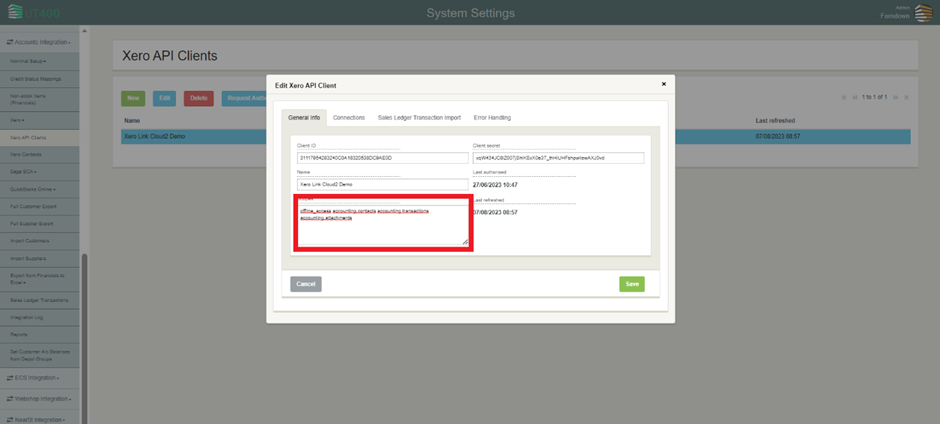
Go to Settings -> Accounts Integration -> Xero API Clients. Double click on the client’s name and add ‘accounting.attachments’ in scopes. The scopes should look like this ‘offline_access accounting.contacts accounting.transactions accounting.attachments’. Save and re-authorize Xero for the changes to take effect.

Step 3 - Generate Purchase Nominals
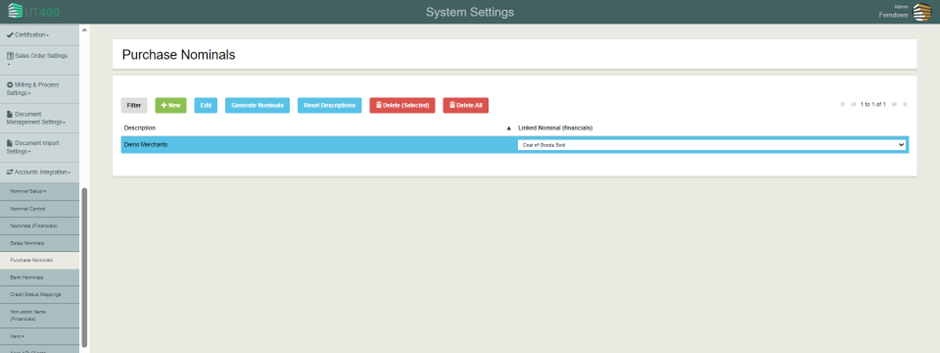
Go to Settings -> Accounts Integration -> Purchase Nominals. Click Generate Nominals to generate purchase nominals from Xero and link this to the correct nominal on Xero.
