Assign a Picker to a Single Order and Ready for Picking
This article provides step-by-step instructions on how to assign a picker to a single order and prepare it for picking, streamlining the order fulfilment process for increased efficiency.

Written by Ryan Osborne
Updated at February 5th, 2025
Table of Contents
How to Assign a Picker
First, we need to begin the order-picking process to set pickers against the required live allocated orders on the system.
This can be done at several different stages of your order lifecycle and from several different screens: the system is very flexible.
You can select the picker when allocating an order from the Confirm Order pop-up.
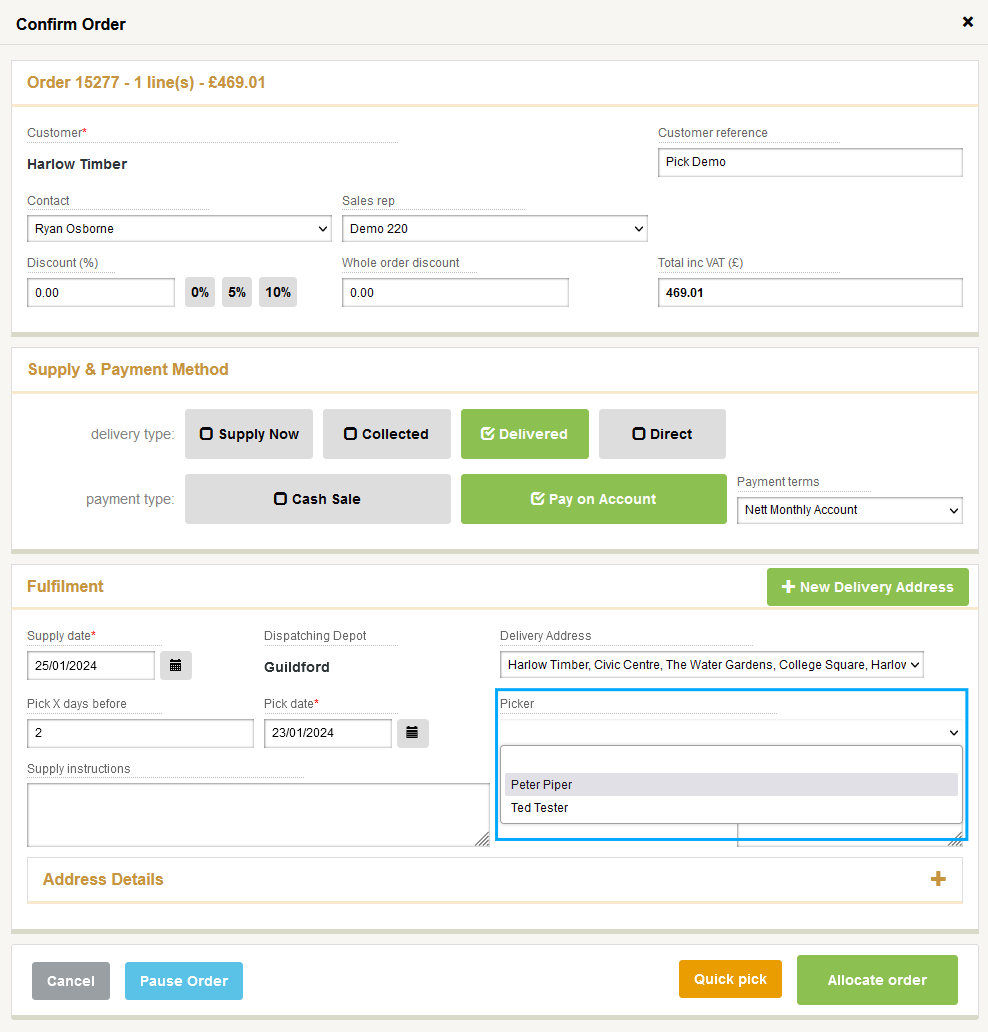
The drop-down list is comprised of employees set as pickers. If you need to maintain your employees to set up your pickers visit - Setting up an Employee for Order Picking
We appreciate you may not know who the picker will be at the point of sale, or the required date may be too far in the future to plan who will be picking the order at this stage, so you may want to leave it blank and allocate the order.
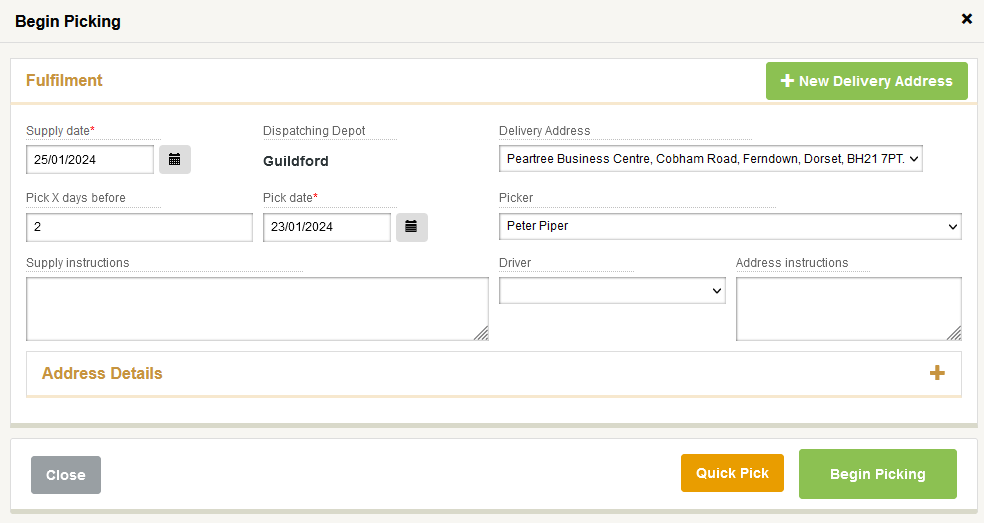
Quick Pick:
The Quick Pick button bypasses the entire system and jumps straight to confirming the physical pick. You will need to manually generate documents if required or set up additional documentation scenarios.
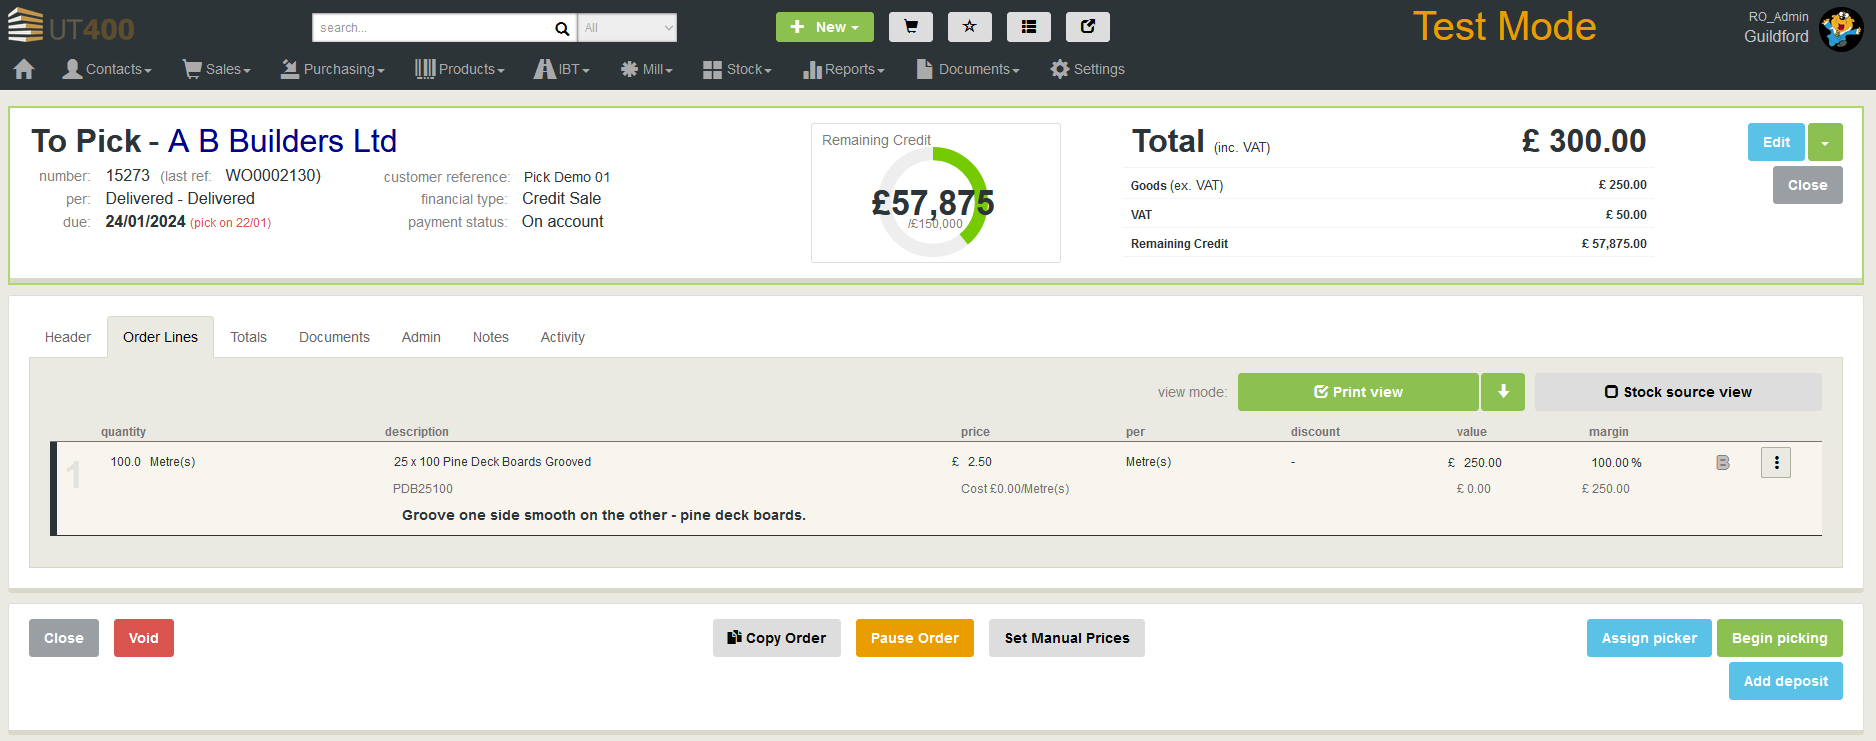
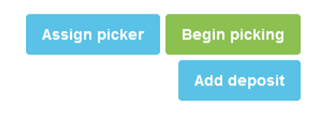
You can go into an Allocated order at any time, and in the bottom right-hand corner, you will see an Assign picker button.
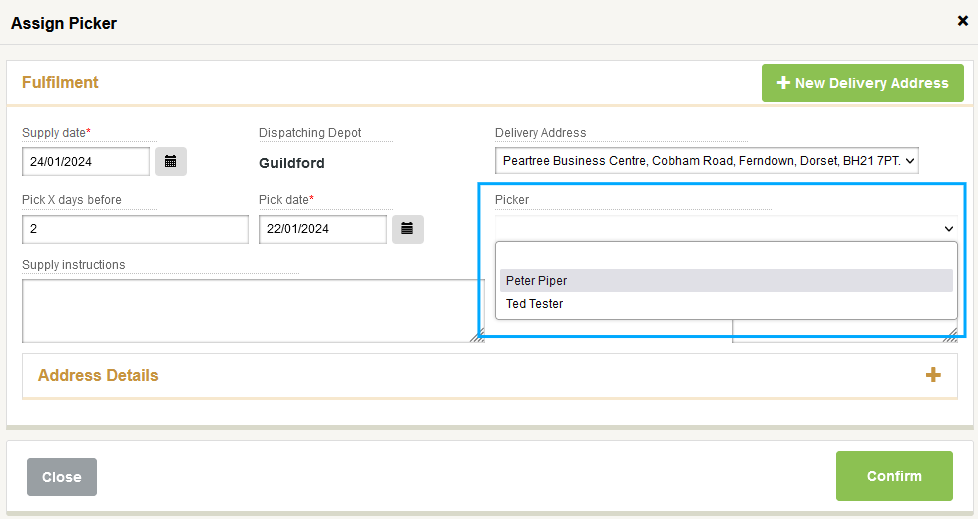
When you click the button a new window will open. Select the Picker from the list and confirm the change.
Once a Picker has been assigned to an order, the buttons will change to Change Picker and Begin Picking and the order will still be in a To Pick status.
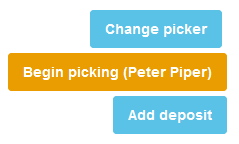
if you need to rearrange your pickers the Change Picker button will allow you to select a different picker.
If you are ready to proceed with picking the order, the next stage is to click the Begin Picking (Picker Name) button. The Assign Picker window will open again giving you another opportunity to change the details, and if everything is correct, click the “Begin Picking” Button.
The Order will now change status from To Pick to Picking. Most users have a works order or picking note documentation generated once the allocated order hits the Picking status.
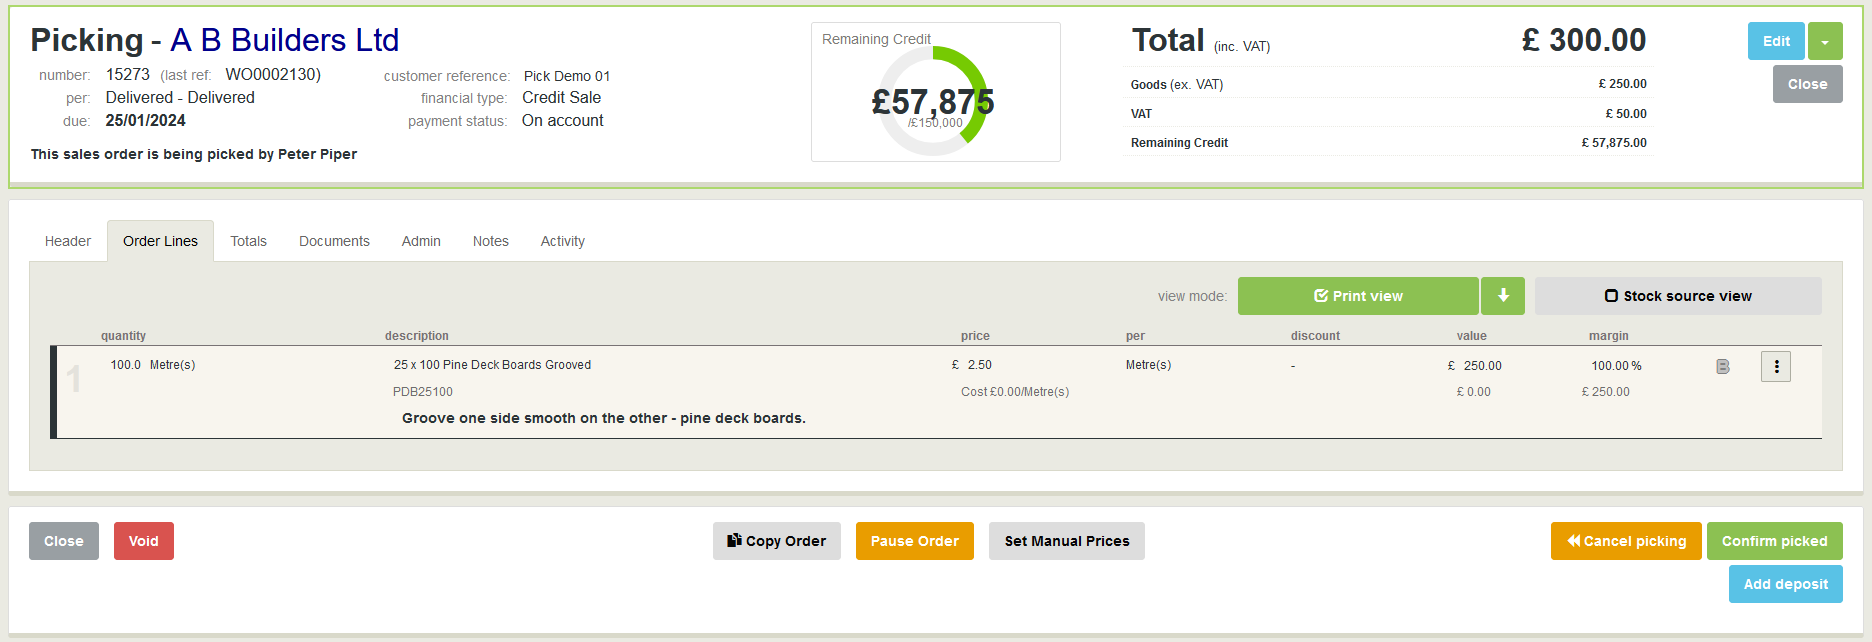
If you need to, you can cancel the picking for any reason and reschedule by clicking the Cancel picking button and reverting the order to the “To pick” stage. Please be aware if the documentation scenario trigger is set for the "Picking" status, moving back and forward between the “To Pick” and “Picking” statuses will cause the documentation to be generated again.
Order of Operation:
If you click the “Begin picking” button before “Assign Picker”, you will be taken to the Assign Picker screen but the order status will move on from To Pick to Picking when you confirm the window.
You should now be ready to proceed with picking and preparing the order for delivery to your customer.
The next step would be Confirming the Picked Order.
You can also Assign a Picker and Ready for Picking a Batch of Allocated Orders.
Advanced Order Picking Overview
Video Guide