Custom Specification Formatting on Documents
[Premium] Change how quantity specification is shown on your documents to match customer expectation

Written by Dominic Oldrey
Updated at April 27th, 2023
Table of Contents
Overview
Merchanter uses a fixed definition for quantity specifications. This premium feature allows you to select how these are formatted on printed documents.
This only applies to modifying the specification summary for specified lengths, mixed-width products and mixed-size products.
Available to User types
| Ops | Basic | Pro | Super | Prime |
 |
 |
Setting up Custom Specification Formatting
- In the Ledger edit screen, in tab Ledger Options, subtab Premium you will see the option for Customer Specification Formatting:
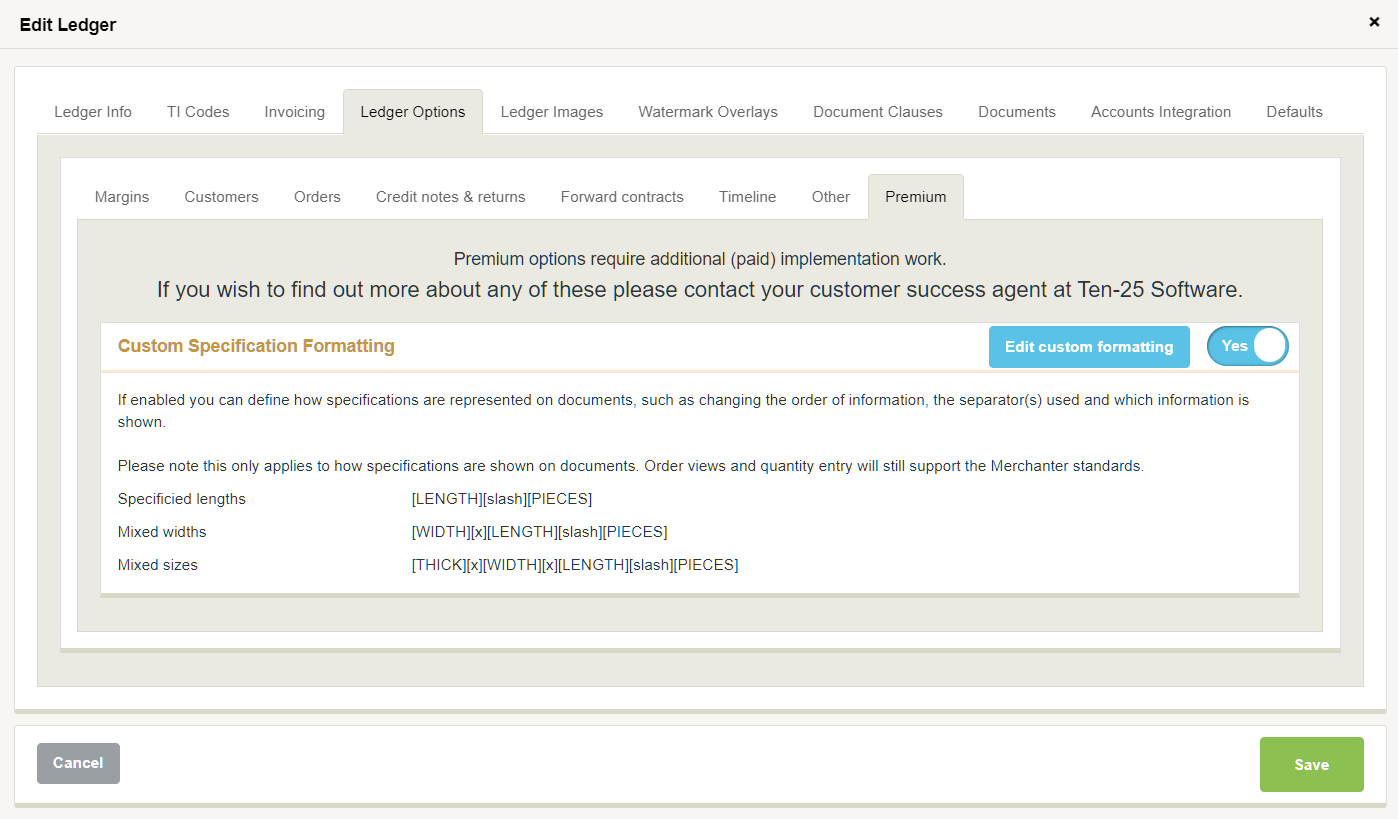
- If this option is disabled, you will need to speak to the sales team at Ten-25 software to discuss using the feature. There is additional documentation setup which we will need to undertake to support this work.
- Press the “Edit custom formatting” button to begin editing. This screen shows the current settings for specified lengths, mixed-widths and mixed-size specifications. For each there is a test box where you can enter a specification to see how it will appear on documents.

- To change the format for a selection, click the edit button. This brings up the format builder screen:
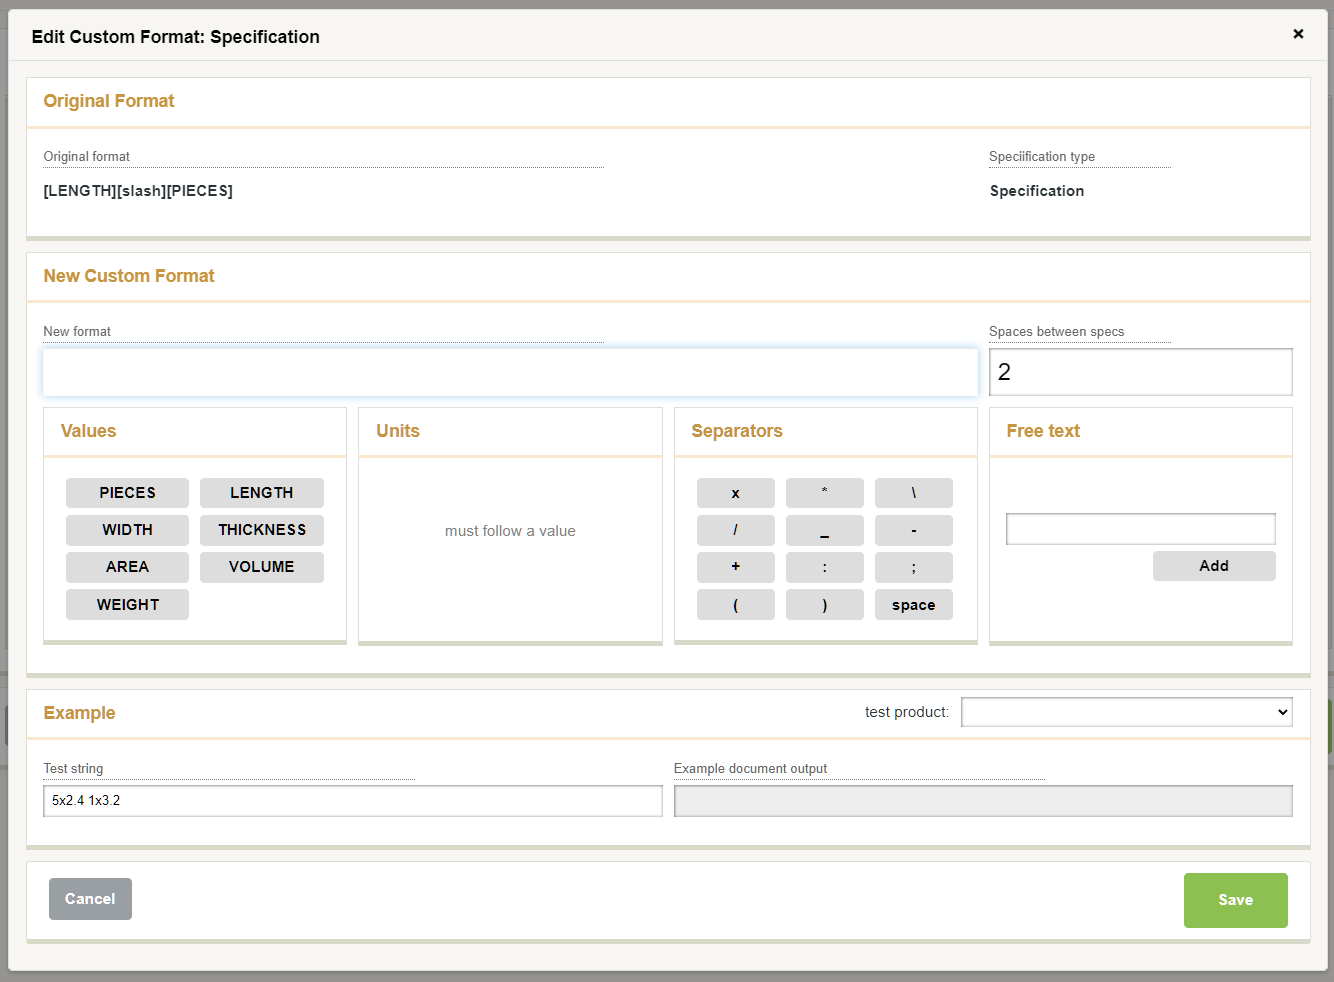
- The old format is shown at the top of the screen. Cancelling out of the builder will revert to that. To build a new format, you can use the buttons across the middle of the page.
- Values: Data about the specification
- Units: These must follow a value. Only the relevant units are shown. If a unit is applied after a value, the value will be converted into that unit. i.e. You could show the weight in tonnes rather than kg.
- Separators: Text that breaks up the data. Standard options are provided.
- Free text: Type any text you wish into the box and press the add button for it to add to the screen.
- Spaces between specs: This can be 0-5, depending on your preference.
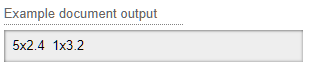
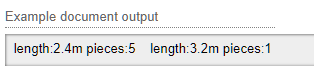
- At the bottom of the page is a test string, and to the right is how it will look when processed by the new format definition.
- When you are happy with the definition, press save to store your changes.
Examples

 |
 |
 |
 |
 |
 |
 |
 |
Limitations
- Custom formatting only applies to document output. The quick quantity entry system would not be compatible with user-defined custom formats for input.
- Formats are applied at a ledger level, so will appear the same across all documents from all depots.
Build Number: 5320
Release Month & Year: Jan/2023