Paymentsense Connect Integration
Learn how to integrate Paymentsense Connect into your business and start taking card payments quickly and securely.

Written by Andy Greenald
Updated at March 30th, 2023
Table of Contents
Introduction to Paymentsense
Paymentsense Connect is an integrated payments software solution that connects Merchanter to a card terminal on the counter via the cloud.
This has the advantage of avoiding mis-keying mistakes and other errors at the terminal.
When an “online” card tender type is selected, Merchanter sends the payment amount from the payment page to a nominated card terminal, identified by an ID, and then monitors the progress of the transaction. If the transaction completes successfully, the payment will be taken and recorded in Merchanter. If it should fail, the user is returned to the payment amount entry page to try again or choose an alternative tender type.
Default Card Terminals
Before the payment details can be sent to a card terminal, the user needs to select a card terminal from a list of currently available terminals. If a cash drawer always uses the same terminal and to save time, a default terminal can be defined for the cash drawer and for each traded currency used. This default terminal will be used for the transaction unless changed on the payment tendering page.
In order to set up default terminals, a list of all known terminals for each depot or ledger needs to be downloaded from Paymentsense Connect. To do this, go to Settings > Financial Settings > Card Terminals and click the Update for active depot button. This will get all known terminals and their supported currencies for the user's currently active depot.
Setting a Default Card Terminal
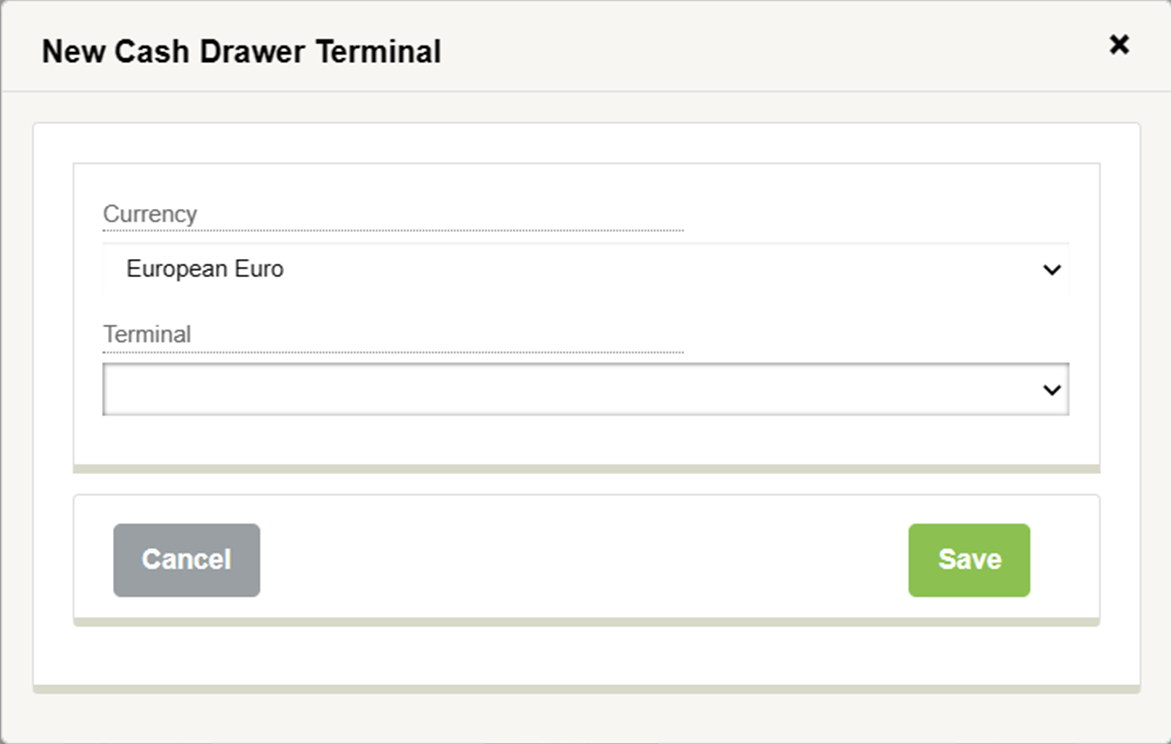
Go to the cash drawer overview page (Sales > Cash Drawers) and edit the cash drawer settings, selecting the Default Card Terminals tab. Click the New button to create a cash drawer terminal record.

Choose a currency and the default card terminal (you would only be able to select from terminals for the cash drawer's depot/ledger and selected currency). Then click the Save button.
When finished, click the Save button to save the cash drawer settings.
Tender Types
The tender type can be designated as an online type for use with the card terminal by setting its payment processing type to either Online Only or Online/Manual. The latter will allow the user to record the payment offline as before.
