How to add a new customer record
Learn how to easily add new customer records to your database.

Written by Ian Oldrey
Updated at May 11th, 2023
Table of Contents
There are a number of methods of adding a new customer record to Merchanter. This article deals with the methods for adding a single customer record to the system. There are other articles for uploading multiple customers using spreadsheet data.
Add a new customer from a blank record
From the top banner of Merchanter click the +New button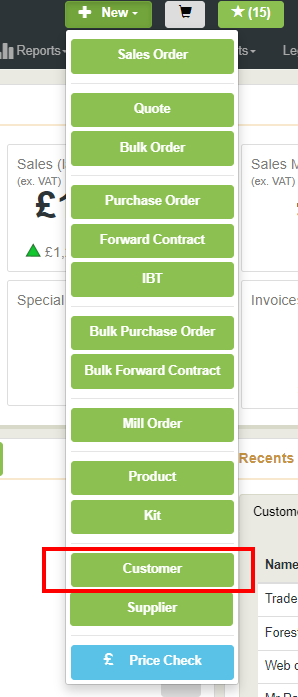
Select the ‘Customer’ button
If the customer button is not showing your user role does not have suffcient permission to add a customer record. Please speak to your system administrator.
Select a prototype
The prototype is like a template with pre-defined field settings for a type of customer. Below are example entries from Merchanter, but your system may have different prototypes and field settings within each prototype.

Double click to select the prototype
System Administrator - setting up and amending customer prototypes
In Settings > Customer Settings > Customer Prototype Overview
You have the choice to add new or amend existing prototypes
Customer details wizard
Once you have selected a prototype you will be guided through the customer setup wizard. You can run through the wizard or click on ‘Full Customer Edit’ to go to a complete customer record.
The fields presented may be different on your Merchanter system
Page 1 - General information
-
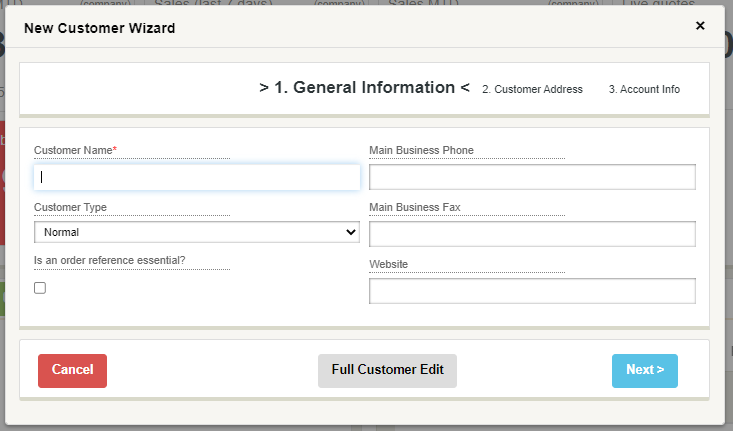 Customer Name - mandatory, should be the business or person name. For businesses there is opportunity to individual contacts to the record later on
 -
Customer Type
- Normal (default)
- Internal - used for customer records of a depot for inter branch transfers or sale of goods for internal use. Will not generate sales invoices
- Prospect - customer details, but not currently trading with your business
- Main business phone
- Main business fax (really in 2023!!)
- Website
Page 2 - Customer Address
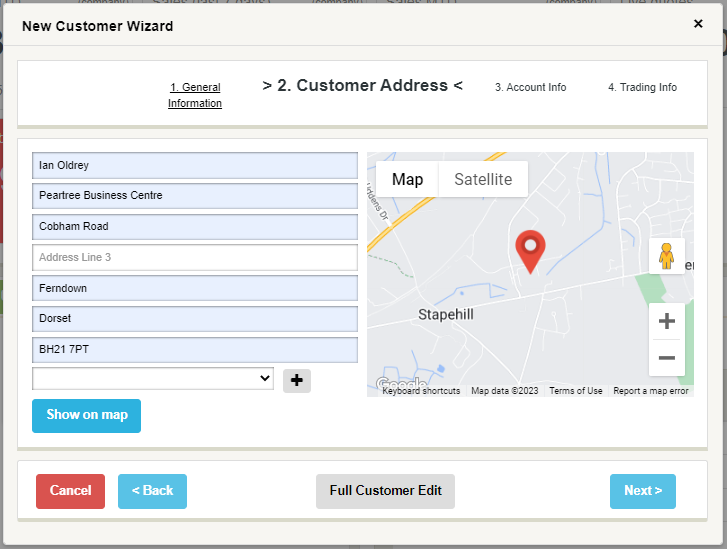 This is the main invoicing address for the business/person
Address 1 is mandatory
Google Maps uses Address 1 + Postcode to identify a location
Click on Show on map to see Google Map
Tip - a customer may have mulitple delivery/site addresses. These can be entered once the record is setup
Can't find the address on Google Maps?
If clicking on Show on map diesn't find the location on a map, go to a normal google search an look for the business. The details, including the address will show in the format that Google recognises.

Page 3 - Account Info
-
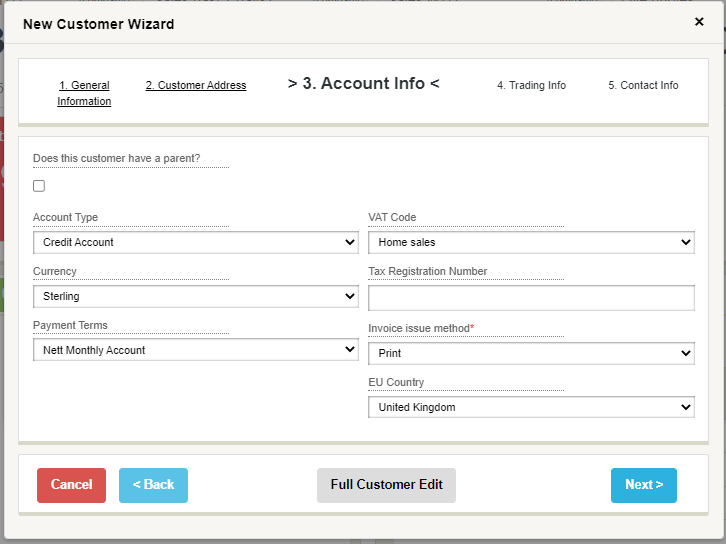 Account Type
- Credit Account - will have a credit facility with you, but can still place cash sales
- Cash Account - will only be able to place cash sale orders
- Internal Account - used for internal sales, will not generate invoices
- Trade Counter Account - generic user for placing anonomised/retail sales
- Commission - Used with the commission facility where a supplier is charged a commission when you sell on their behalf
- Currency - defaults to your native currency, but can be set to any currency you have set to trade in
- Payment terms - default payment terms for the customer, can be amended on an order by order basis
- VAT Code - default to Home Sales, but can be set as is relevant to the business/person
- Tax Registration Number - VAT reg number if known
- Invoice issue method - Print or email
Page 4 - Trading Info
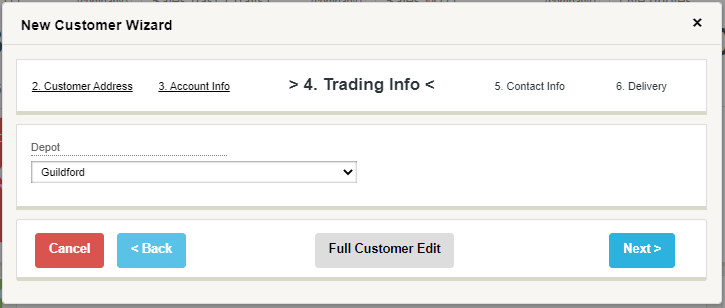 Default depot this customer belongs to. They can still place orders to be supplied from other depots
Page 5 - Contact Info
 First name is mandatory, all other fields are optional
This is the primary contact for a business/person, once a record is setup you can add additional contacts
When adding Phone/Mobile/email a tick box is shown once an entry is put in. Select this if the contact is prepared to be contacted using this method.
Page 6 - Delivery
 Select the default delivery method for this customer. This can be amended on an order-by-order basis
Select the days this customer trades and is available to receive deliveries
(May 2023 - the delivery days check boxes are not connected to any other functionality at present, so are for reference only. They will influence the transport planning of orders once available)
Page 7 - Invoicing Address
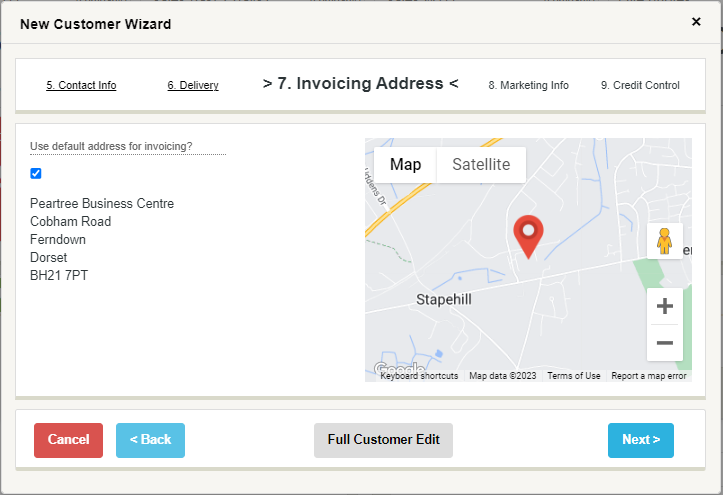 This page confirms the address entered on page 2 is to be used as the invoicing address. This can be an alternative address if relevant.
If an address has been added on page 2 there is no need to reenter the details.
Page 8 - Marketing Info
 This information helps identify the customer as part of a larger group, for sales operations and analysis. All these fields are optional, but they are useful to record against a customer:
- Sales Rep - set to the person in your business who is responsible for that customer. All users will be able to make sales to this customer
- Assistant Rep - alternative person to look after the customer if the main sales rep is unavailable
- Business Type - the industry of business type for this customer. This list is built from Settings > Customer Settings > Business Types
- Area - this is the geographic area that the customer trades from. This is a custom list built from Settings > Customer Settings > Sales Areas
Reporting by sales area or geography
The Sales Area is a custom list that your business sets to be relevant to your operations. They could be towns, postcodes, counties, countries, even simple entries like North, South, East, West. The benefit is you can control the areas to be meaningful to your business. The downside is if a customer is set as ‘Hampshire’ as their sales area. If they are doing a job in Dorset this will still log under the Hampshire sales.
Alternatively some reporting tools (Power BI) can use the delivery postcode against each sales order to show sales by geographic areas. This has the benefit of showing the quantity and value of goods supplied to different places, but also spreads the sales to one customer across multiple locations.
Page 9 - Credit Control
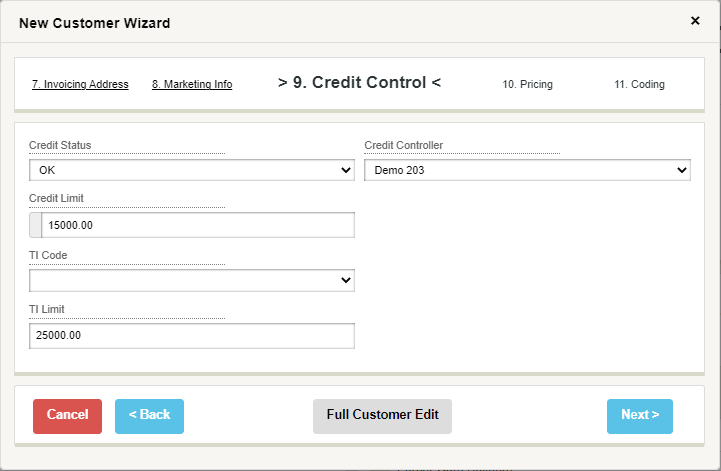 The credit control information is relevant for a credit account customer
- Credit status - default to OK
- Credit Limit - limit you are prepared to let this customer have in goods
- TI Code - Trade Indemnity code
- TI Limit - limit insured by your financial institution
- Credit Controller - the person in your business who manages the credit account for this customer
Page 10 - Pricing
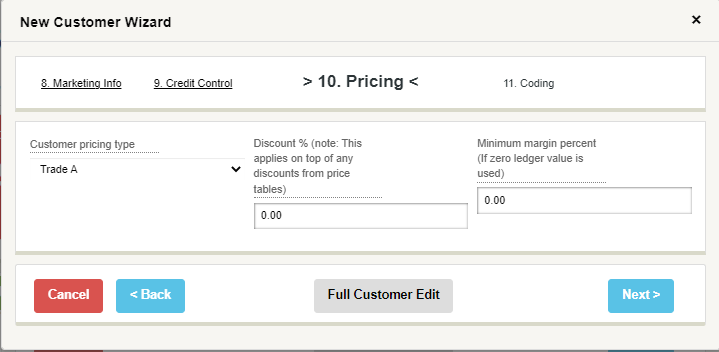 Set the default pricing terms for this customer. Once a customer record is setup you can refine their pricing terms for product categories, groups, sub-groups and put in place manual price agreements on products.
- Customer pricing type - the default column in the price book that this customer will get for products (this can be overridden by other pricing types and manual agreements at a lower level)
- Discount % - this is a discount that this customer will receive on all orders for all products, on top of any price table discounts.
- Minimum Margin % - This is the minimum margin that should be achieved for this customer on all their orders. If 0.00 is entered then the company wide minimum margin level is used
Page 11 - Coding
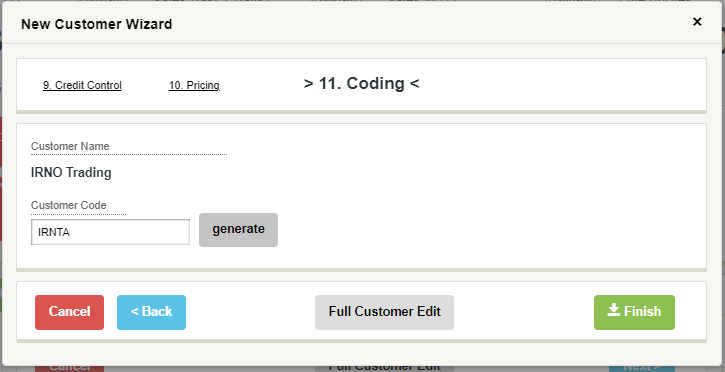 Every customer record needs a customer code. This is automatically generated by the system (see automatic code templates) by you can enter any code manually you would like, so long as it isn't the same as an existing code.
Click on ‘Finish’ and the new record will be setup.
Fast new customer entry
When processing a sales order you may want to quickly setup a new customer record.
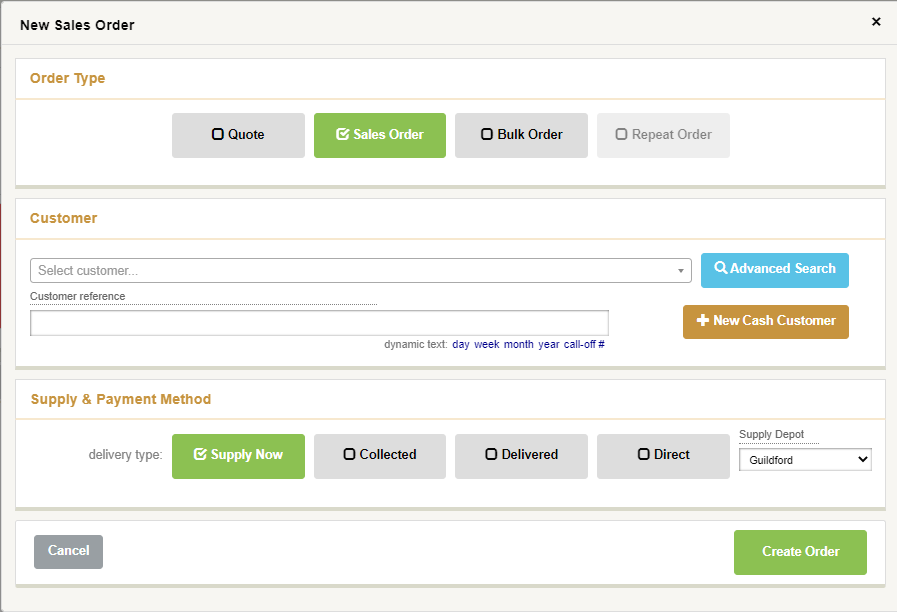 When starting a new sale, before selecting an existing customer record click the ‘New Cash Customer’ button
This will take you through a condensed version of the customer setup wizard, capturing basic information to put the new record in place.
Once entered the new customer record is added as the customer for the order you are working on
Please note if you void/cancel the order after this point the customer record will still be setup on the system.
New customer like another (copy customer)
 If a customer record is similar to another that is already on the system. Navigate to the customer record that you want to copy, then click on the green button in the top right banner of the record and select ‘New Customer like this’
This will take you to a full customer record with the majority of fields and settings copied from the original customer record.
Amend the details to suit the new customer.
This method can be much quicker than filling out a customer record from a prototype